4 Steps to Organize Your Closet Between Seasons
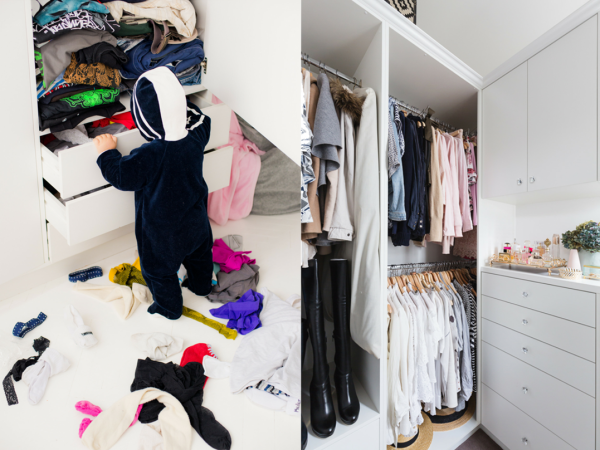
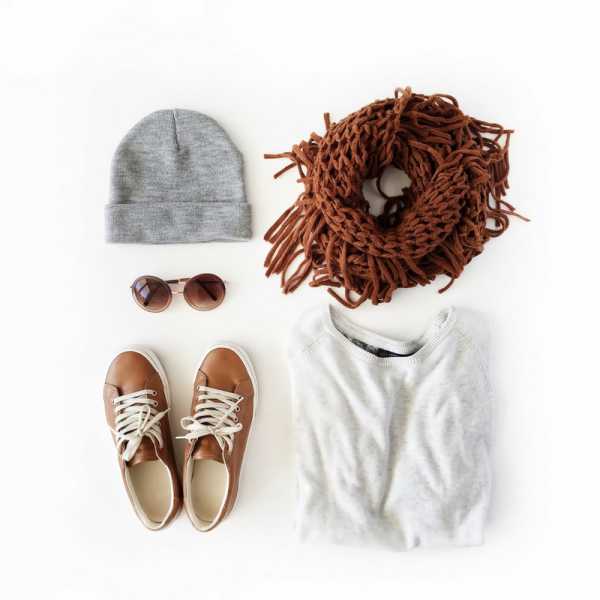
Summer has officially ended and the weather is cooling off and that means snuggly sweaters, winter woolens, cozy scarves, and everything that makes fall vibes #fallvibes. Unless you are blessed with a dream-sized closet bigger than your bathroom, now is an ideal time to get organized, bust out your cold-weather wardrobe, and retire those summer fashion staples. Follow these four steps to go from the photo on the left to the one on the right (you feel better just looking at it, don’t you?!):
Step 1: Wash & Clean
First you’ll want to make sure any food debris, stinky odors and stains have been removed before your summer wardrobe gets stored in a bin for multiple months. Washing clothes before they are stowed away will also save you time and hassle when it comes time to bust them back out.
Start by washing all clothes that can be laundered and are to be packed and stored away. Send off any special care items to the dry cleaner, and wipe down shoes and other accessories.
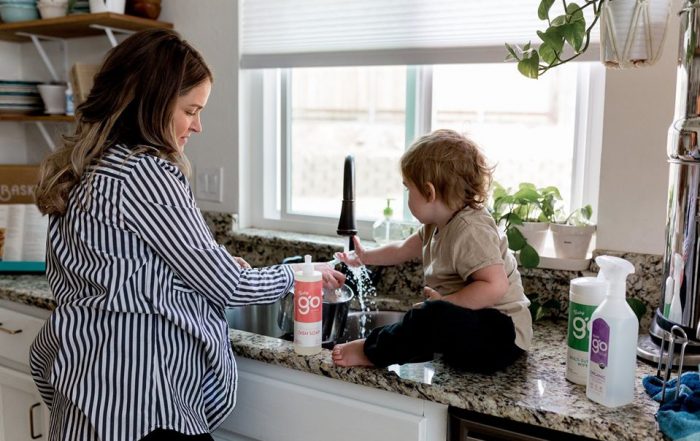
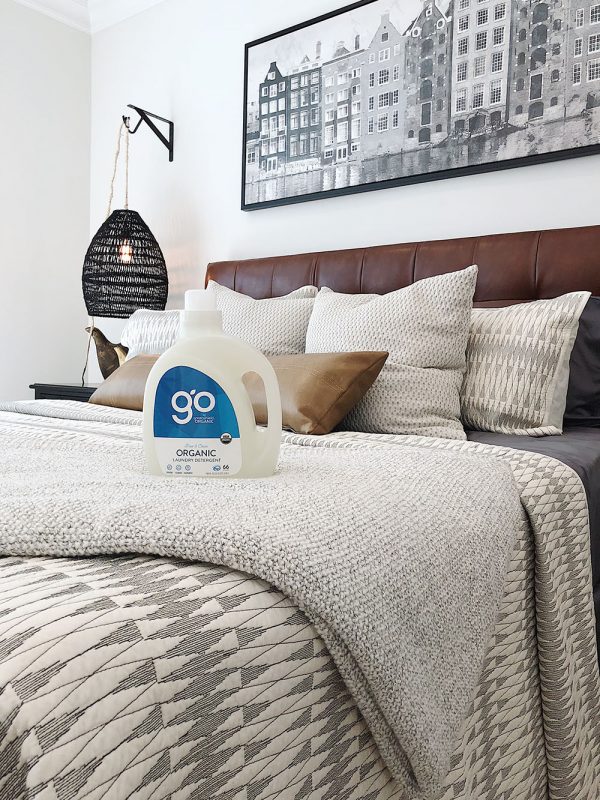
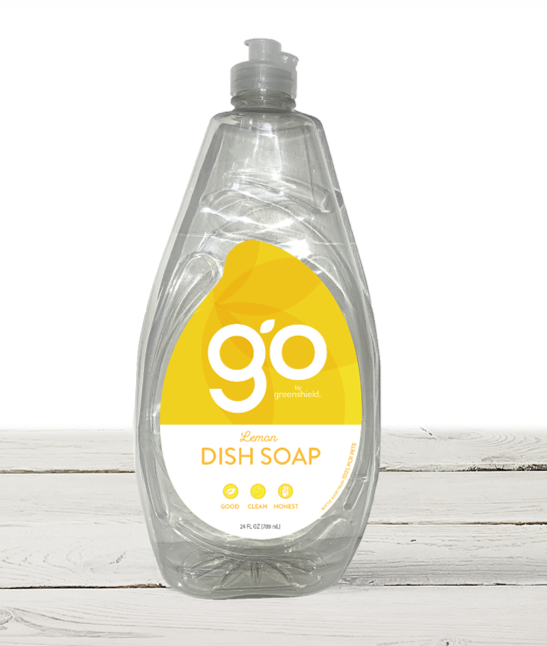
Be sure you are stocked up with plenty of laundry detergent to get the job done! You can find our Organic Laundry Detergent in Free & Clear and Lavender varieties online at www.walmart.com.
Step 2: Sort It Out
Once all your warm weather laundry is washed it’s time to sort! Start by sorting individual items into categories like bottoms, tops, sleepwear, delicates, socks, shoes and accessories. Once you have each pile sorted see what items you can live without.
Eliminating unnecessary items from your closet is the best way to get organized and make room for the new fashion statements you crave. Inspect each garment to find ones that either no longer fit, you no longer like, never wore, or are damaged beyond repair. Then place any donate-ables into a bag or box and wipe away your final tear before you say goodbye. If you are having trouble deciding what to donate or get rid of, here are some helpful rules to follow:
It goes in the repair pile, if:
It needs stains treated, buttons replaced, or has zippers or holes you (or a tailor) can easily fix.
It goes in the charity bag, if:
It’s in good shape, but you haven’t worn it in over a year or you no longer like it.
It goes in the compost, if:
It’s damaged beyond repair and not suited for donation and it is made out of natural fibers without synthetic dyes or chemical treatments.
It goes in the trash, if:
It is damaged beyond repair and cannot be composted.
It goes in the keep pile, if:
You love it and plan to wear it!

Step 3: Stow It Away
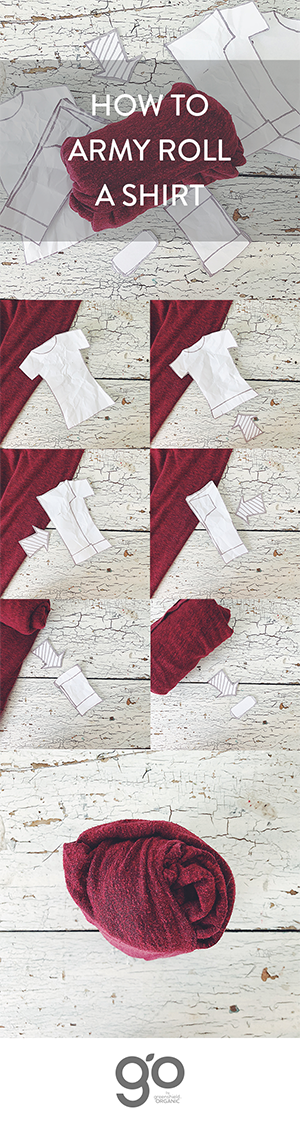
Now that you are left with clean, categorized and essential items only, it’s time to get packing! The classic army roll is the ultimate way to neatly stow away shirts, pants and socks for off-season storage. Our visual guide will show you how it’s done!
Here are some more fabulous folding tricks to keep your storage bins and drawers neatly organized!
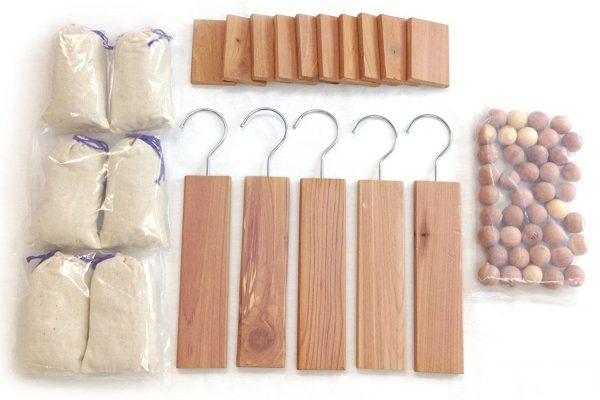
Once everything is put away, add in some natural Cedar Blocks, Balls and Sachets to keep bugs and moths away from your clothing while in storage. Dried lavender has also been proven to repel insects and will keep your clothes smelling great!
Step 4: Organize
Now it is time to bring out your fall and winter gear! *Repeat steps 1 through 3 for all cold-weather attire if you did not do these steps last year.
To get your closet organized for the new season, start by putting away one category of clothing at a time. We recommend starting with tops. Place all t-shirts together, blouses among blouses or dress shirts with other dress shirts. Repeat this process until you work your way through each category. Optional: Go above and beyond by sorting everything by color!

Congrats, you’re all done! Now you will be able to easily find everything you need to look your best, and enjoy more space in your closet year round!
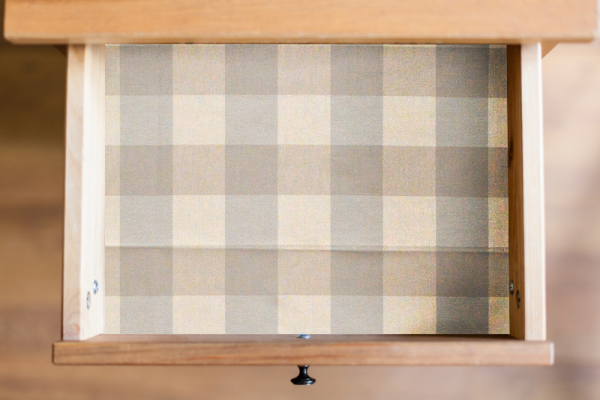
BONUS: Top off your freshly organized wardrobe with some scented drawer liners to keep things smelling great and add a pop of interest to your dresser. We created these DIY Non-Toxic Drawer Liners using organic essential oils and up-cycled fabric:
What you need:
- Measuring tape
- Fabric or paper
- Clean empty travel size spray bottle
- 6-10 drops of an organic essential oil of your choice
- Water
Instructions:
- Measure each drawer and cut fabric or paper accordingly.
- Combine water and 6-10 drops of essential oil in a clean spray bottle.
- Spritz back of liners with essential oil mixture.
- Allow to dry, then place in drawers fragrance side face down.
SUBSCRIBE TO OUR BLOG
RELATED ITEMS

RECENT POSTS